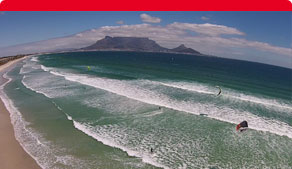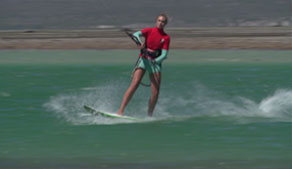
Kitekahunas - Learn Wave Kitesurfing: Lesson 7
Focus on frontside bottom-turn (more Important details)
This lesson of the wave course is for advanced riders and masters. With these tutorial wave kitesurfing videos ...
![]() ... You will learn much faster and then enjoy wave kitesurfing much sooner.
... You will learn much faster and then enjoy wave kitesurfing much sooner.
![]() ... You will not learn the wrong movements, which are later very difficult to correct and un-learn.
... You will not learn the wrong movements, which are later very difficult to correct and un-learn.
![]() ... Importantly, with the right posture you will look much more stylish on the water.
... Importantly, with the right posture you will look much more stylish on the water.
![]() ... People will admire you.
... People will admire you.
KITEKAHUNAS - Learn Wave Kitesurfing. A video course from Kitekahunas on Vimeo.
Only for private use. If you want to use it commercially, e.g. in your kitesurfing school, please book it from us >>
What you will learn in this lesson
- The details of the front-side bottom-turn.
- The movements of your kite, board, hands, head, shoulders, hips, trailing arm and the co-ordination of all these movements in detail during the bottom turn.
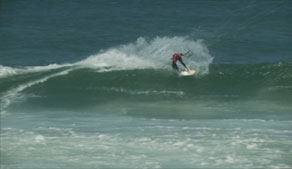
Lessons 5 and 6 have explained you the basics of the front-side top-turn and the front-side bottom-turn in the waves. This Lesson will now go into much further detail of the bottom-turn and explain you the movements of your kite, board, hands, head, shoulders, hips, trailing arm and the co-ordination of all these. The aim is to look as stylish as possible with your bottom-turn, and also to look spectacular for observers from the beach and for other kitesurfers on the water.
Wave Kitesurfing. Perhaps the most thrilling activity in the world. Possibly the most joyful sport on the planet. What makes it so special? A wave kitesurfer is able to play in perfect harmony with the raw forces of nature, both wind and waves.
CONTENT OF THIS LESSON:
Previously in Lessons 5 & 6
1) In Lessons 5 and 6 of this wave kitesurfing video course we have discussed the front-side top turn. It is a highly technical, advanced wave kitesurfing maneuver and it creates extreme joy for the rider.
2) You start this maneuver ideally out of a bottom-turn, in front of the wave as shown in Lesson 6.
3) We have explained to you both parts of the maneuver, the bottom-turn and the top-turn, in much detail. But there are still some more aspects, which you should know about to perfect your frontside bottom-turns. Lesson 7 will teach you this. Lesson 8 will then focus on your frontside top-turn.
4) Steering of your kite
5) As you know already, when you enter the bottom turn, you send your kite with one strong pull on your back hand into the other side of the wind window, towards the wave.
6) Shortly thereafter, this hand now becomes free, and it can be used to touch the water to gain additional stability and balance. We will have a look at this in more detail in a moment.
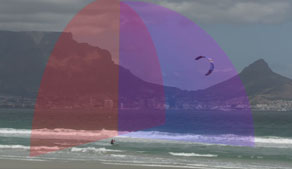
7) Ideally, you fly the kite aggressively from a low position, here on the right hand side of the wind window, right through the power zone, to a low position in the left hand side of the wind window, keeping the kite low throughout the maneuver.
8) If you keep your kite low, you will execute your bottom-turn with lots of speed and power, and you will carve a beautiful round turn.
10) Your front hand at the bar
11) Your front hand stays at the bar throughout the entire maneuver. As you have given the steering input already with your back hand, your front hand merely has to control the power of your kite during the maneuver.
12) After you have initiated the bottom-turn, push the bar out. This is because you now fly your kite low, directly through the power zone, into the other side of the wind window.
13) So your kite will develop a lot of power for a second or two, and you can therefore push the bar out to decrease this power, so you do not get pulled over.
14) Also, remember the aerodynamics of your kite. When you push your bar out, the kite will “lift its wings”, and will therefore fly faster to the other side of the wind window. This will support a fast and sharp bottom-turn.
15) In essence, you push out the bar, while flying the kite over to the other side of the wind window, to reduce the power during the turn, which you do not need or want at this stage of the bottom-turn.
16) But just as important, you push your bar out to have some power in reserve, when you need it. You can then pull in the bar, to further increase your speed when aiming for the following top-turn.
17) When you arrive at the wave, you send your kite back into the other side of the wind window before your top-turn, away from the wave, which we will discuss in Lesson 8 - top turn.
20) Your body posture
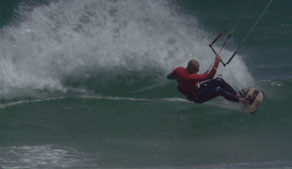
21) When starting your bottom-turn, your body is compressed, with your knees slightly bent and pressure on your heels. Now, during the bottom-turn maneuver, shift your weight to put pressure on to your toes.
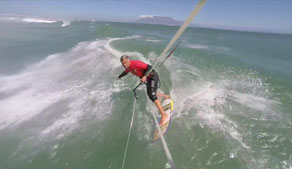
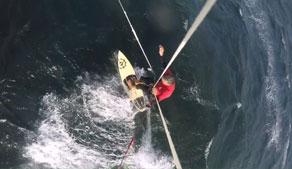
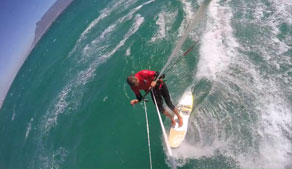
22) Then turn your head towards the wave to initiate the turn, and extend your body as much as you can to carve a controlled bottom-turn. This body extension feels like carving your board as far away from your head as possible.
23) It will add control, because you will get your head and body low over the water surface. The rapid change between body compression and body extension will look and feel dynamic and stylish.
30) Touching or grabbing the water
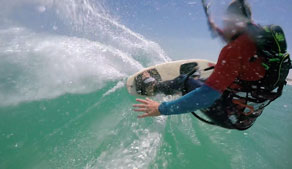
31) When you perform your bottom-turn, push your back hand on to the water surface during your turn into switch. This will have three beneficial effects.
32) First, you gain stability through the turn, because you can hold on to something with your hand.
33) Secondly, you create a pivotal point around which you can ride your turn and therefore your turn becomes even tighter.
34) Thirdly, should you loose the edge of your board, you can further reduce your riding speed by dragging your back hand in the water to help prevent you overtaking your kite. In this case your kite could fly out of the wind window, your lines would become slack and your kite would fall out of the sky.
35) This is particularly important, if you carry lots of speed and power into the bottom turn, which not only feels good and looks great, but is also the perfect preparation to enter your top-turn maneuver with a lot of speed, power and energy.
40) SUMMARY
41) When you enter the bottom turn, send your kite with one strong pull on your back hand into the other side of the wind window, towards the wave.
42) Fly your kite from one side of the wind window to the other, right through the power zone, while keeping your kite low throughout the maneuver.
43) Push your bar out during the bottom-turn and pull it back towards the end of the bottom-turn, to create some additional power to further increase your speed when aiming for the top-turn.
44) During the bottom-turn maneuver, extend your body as much as you can and get your head and body low over the water surface.
45) When performing your bottom-turn, push your back hand on to the water surface or even grab the water.
Watch the other wave kitesurfing Video Lessons
Lesson 2: How to start wave kitesurfing - turns with the right timing FREE
Lesson 3: Your furst turns with distancing and usage of the entire wind window FREE
Lesson 4: Surfing a wave - backside riding and turns on a wave
Lesson 5: Frontside top-turn
Lesson 6: Frontside top-turn after bottom-turn
Lesson 7: Focus on frontside bottom-turn FREE
Lesson 8: Focus on frontside top-turn FREE
Lesson 9: Backside top-turn after bottom-turn
Lesson 10: How to gybe - basic gybe/jibe FREE
Lesson 11: How to gybe - advanced gybe/jibe
If you purchase our wave kitesurfing tutorial videos you can download all of them (Lessons 1, 2, 3, 4, 5, 6, 9, 10 and 11). Download these videos onto your harddrive or smartphone and view them conveniently during your holidays or on the beach, without the need for an internet connection.
Wave Kitesurfing Video Lessons

Download all videos onto your harddrive or smartphone and view them conveniently during your holidays or on the beach, without the need for an internet connection, for only $4.99, and also get the newest wave kitesurfing videos for lifetime: only $199.95


